Ad unit 1

Showing posts with label kodama. Show all posts

Wednesday, August 5, 2015

10 Little Kodama

One of my most recent projects has been sculpting some adorable little kodama, inspired by the tree spirits in Hayao Miyazaki's animated masterpiece Princess Monokone. Who wouldn't be inspired by these guys?


I sculpted them with a blend of Sculpey Firm, Super Sculpey and Sculpey III over an aluminum armature. Alone they stand about 3" tall, and their bases are 2"-3". I made 5 this time around, each one with two little tree spirits.

kukta


They were painted with many thin coats of acrylic paint and given a semi-gloss protective coat of PYMII. Here you can see them being painted.
They look like little aliens!

They stand on a base of heat-cured, responsibly harvested* maple logs covered with dried and treated moss. I had a lot of fun making these and plan to make more in the near future!
Kodama being sculpted!
*Regarding the logs, my Father-In-Law had a huge maple in his back yard that was severely damaged by an unfortunate fire next door. The tree was beyond saving, so he cut it down. He gave the wood to us to use as heating firewood and many, many of the branches are the perfect diameter for these little sculpts!

Tuesday, March 24, 2015

A New Kodama Tree

Here is another one of my sculptures inspired by the Hayao Miyazaki masterpiece Princess Mononoke.


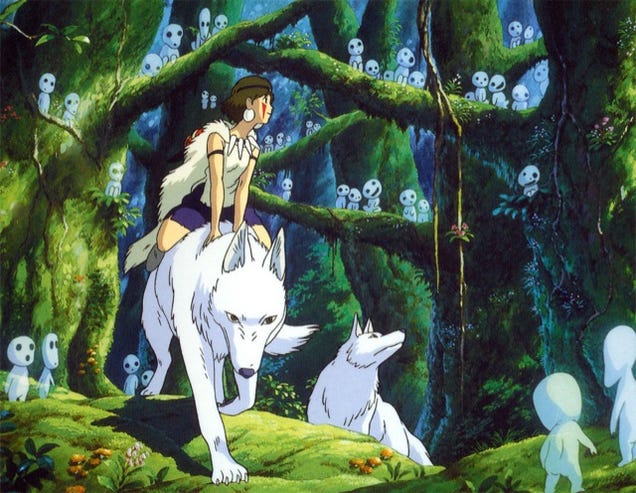
This is the second Kodama tree I have made. The design was inspired by this still from the movie:

image credit http://upload.wikimedia.org/wikipedia/en/a/a3/Mononoke_Kodama.jpg
The Kodama are tree spirits who appear throughout the film. They are cute, mysterious, almost creepy, and definitely memorable. Here are some of the little  tree spirits with the titular princess:


This piece was completed on March 19, 2015. The armature is aluminum wire in wood, bulked up with Reynold’s Free Form Sculpt epoxy clay:


Over the epoxy, I affixed a skin of Sculpey III. This time, I made the leafy portions of the tree separately- you can see them in this picture:


I didn’t get a picture of this step, but to make the leaves I use a teardrop-shaped extruder and razor cut a long extruded piece into the leaf shapes. The extruded clay is the green snake you can see in the pictures. I baked the trunk and the leafy tops separately, and then affixed the leaves to the trunk using more of the epoxy clay. You can see my state of the art gluing rig in this photo:

Post-its and Perrer for the win!

After the epoxy cured, I put more Sculpey over the epoxy, then filled in more Sculpey leaves and baked it all again. After baking, I painted the eyes, gave it a wash, and sprayed it 4x with PYM II, an excellent polymer-safe aerosol varnish. 

Overall I am very happy with this piece. I think I will make another- do you think it would look nice in a pot, similar to a bonsai tree?